
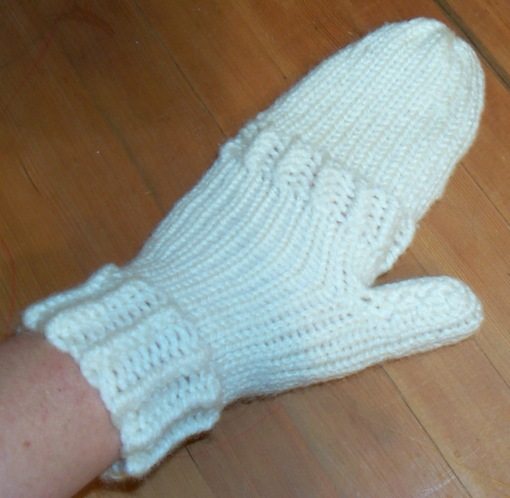
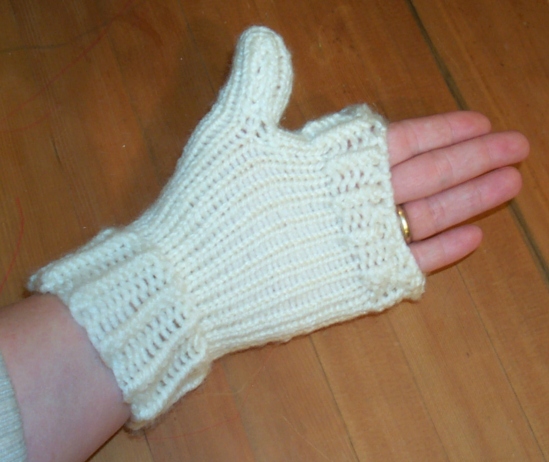
Look! Look! A thumb! A bit small but a thumb :) There still needs to be a few changes but I'm posting the pattern and letting at least 500 of my looming group members make my pattern shine LOL I know they can do it. As for the matching one, sorry I haven't worked that out yet, I'm assuming everything will be the same except for the opening; you'll have to work on the opposite pegs. This pattern is in the "beta" stage and each time I knit one I will try to correct this and that but by that time winter will probably be pretty much over so I'm posting it now :)
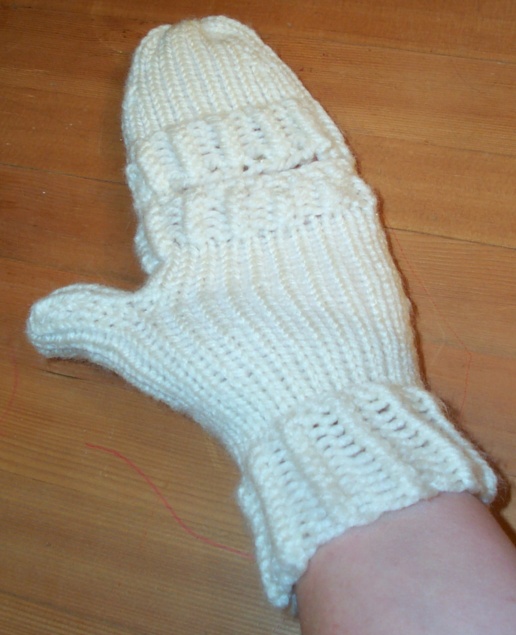
This mitt was done on the regular gauge WonderLoom from Decor Accents. I think it could be done on the blue KK with a few changes but I have not tried it. My example was done with a chunky wool and I think next time I would stick with normal worsted weight as this one is a bit heavy and thick.
Peekaboo Mitts Pattern
***My biggest thing is row 69, that's where I'm having trouble. Instead of knitting to peg 15 I think next time I would knit to peg 17 because the opening is too far around the hand near the pinkie, I might even knit to peg 18. Beside the thumb is okay so I would leave that part alone...please experiment and let me know. I've tried to type out the pattern without any mistakes but if you see something obvious please leave me a comment so I can change it, I'm open to any suggestions!!
Ewrap 24 pegs (this will increase up to 26 pegs, if you are using the blue KK ewrap 26 pegs and don't increase). I put a picture of where I started because if you do the increase and decrease stitches you'll have to move the inserts. I had to cut my elastic so use a scrap one, I just retied it when I needed to. Where you need to ewrap is indicated in the pattern and the knit stitch referred to is not ewrap. Isela has an excellent video of this stitch at her site, click the link to view it: knit stitch video
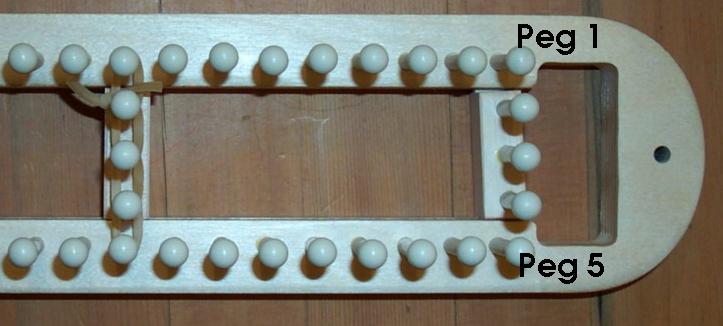
Row 1-9: K1 P1 (ewrap)
Row 10: Knit to peg 13, ewrap peg 13 but place the loop on the empty peg beside it. P1 K1 P1 the next three pegs (on the insert). Ewrap the next empty peg, knit over. Knit next peg and purl next peg. K1 P1 to end of row (26 pegs)
Row 11-29: Knit stitch (not ewrap)
Start of thumb:
Row 30: K7 (I originally did 6 but it's a bit snug so I'm increasing by 1 peg)
Row 31: Knit pegs 6 to 1
Row 32: Knit pegs 2 to 7
Row 33: Repeat row 31
Row 34: Repeat row 32
Continue doing rows 31 and 32 until the thumb is desired length. I did 27 rows and think I'd go a bit longer, maybe 35 rows.
(Change next row number to how many rows you did for your thumb)
Row 57-63: Knit
Row 64-68: K1 P1 (ewrap)
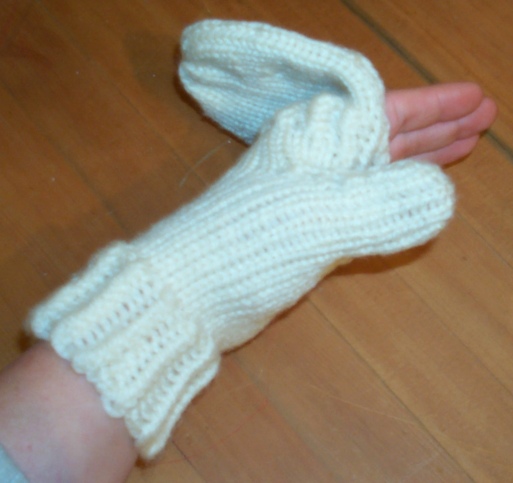
Start of peekaboo opening:
***(See note in red above)Row 69: Knit to peg 15, Knit peg 16 but place loop on peg 17 Knit over. Knit peg 17 but place loop on peg 18 Knit over. Continue until you place last loop from peg 25 to peg 26 Knit over.
Row 70: knit to peg 15. Slip a crochet hook into loop on peg 15 and pull working yarn through-- place loop on peg 16--leave crochet hook in loop and pull working yarn through, place loop on peg 17. Continue until peg 24. Knit peg 25.
Row 71-76: Knit to peg 15. K1 P1 (ewrap) pegs 16 to 25
Row 77-85: Knit
Row 86: Move all 4 corner pegs in: 1 onto 24, 5 onto 6, 14 onto 13, and 18 onto 19. This is how I decreased and it seemed to work okay, not great but okay. You can continue to do this every few rows but with the chunky yarn I used I only did it once.
Row 87-96: Knit
Bind off using the gather method, weave in all ends, sew up both sides of thumb...make another one and you're done.
1 comment:
The thumb looks perfect. Great job.
Post a Comment